DIY Bathroom Renovation: A Before and After
This past year we’ve been so into Venetian plaster. Our house that was built in the 40’s has old walls. They are pretty uneven in places, with old patches and different textures, and so deciding to do Venetian plaster has been both because it’s so pretty but also because it is a functional fix for our old house. So far we’ve done our office, guest room, and now we just did our bathroom. What’s funny is we stared out with a very neutral light beige in our office and then wanted to do a darker pink in our guest room. Then when deciding on our bathroom we wanted to go even darker and decided on a dark grey. I think the color choices were both because we liked them but also because it was kind of fun to go darker and darker with the plaster.
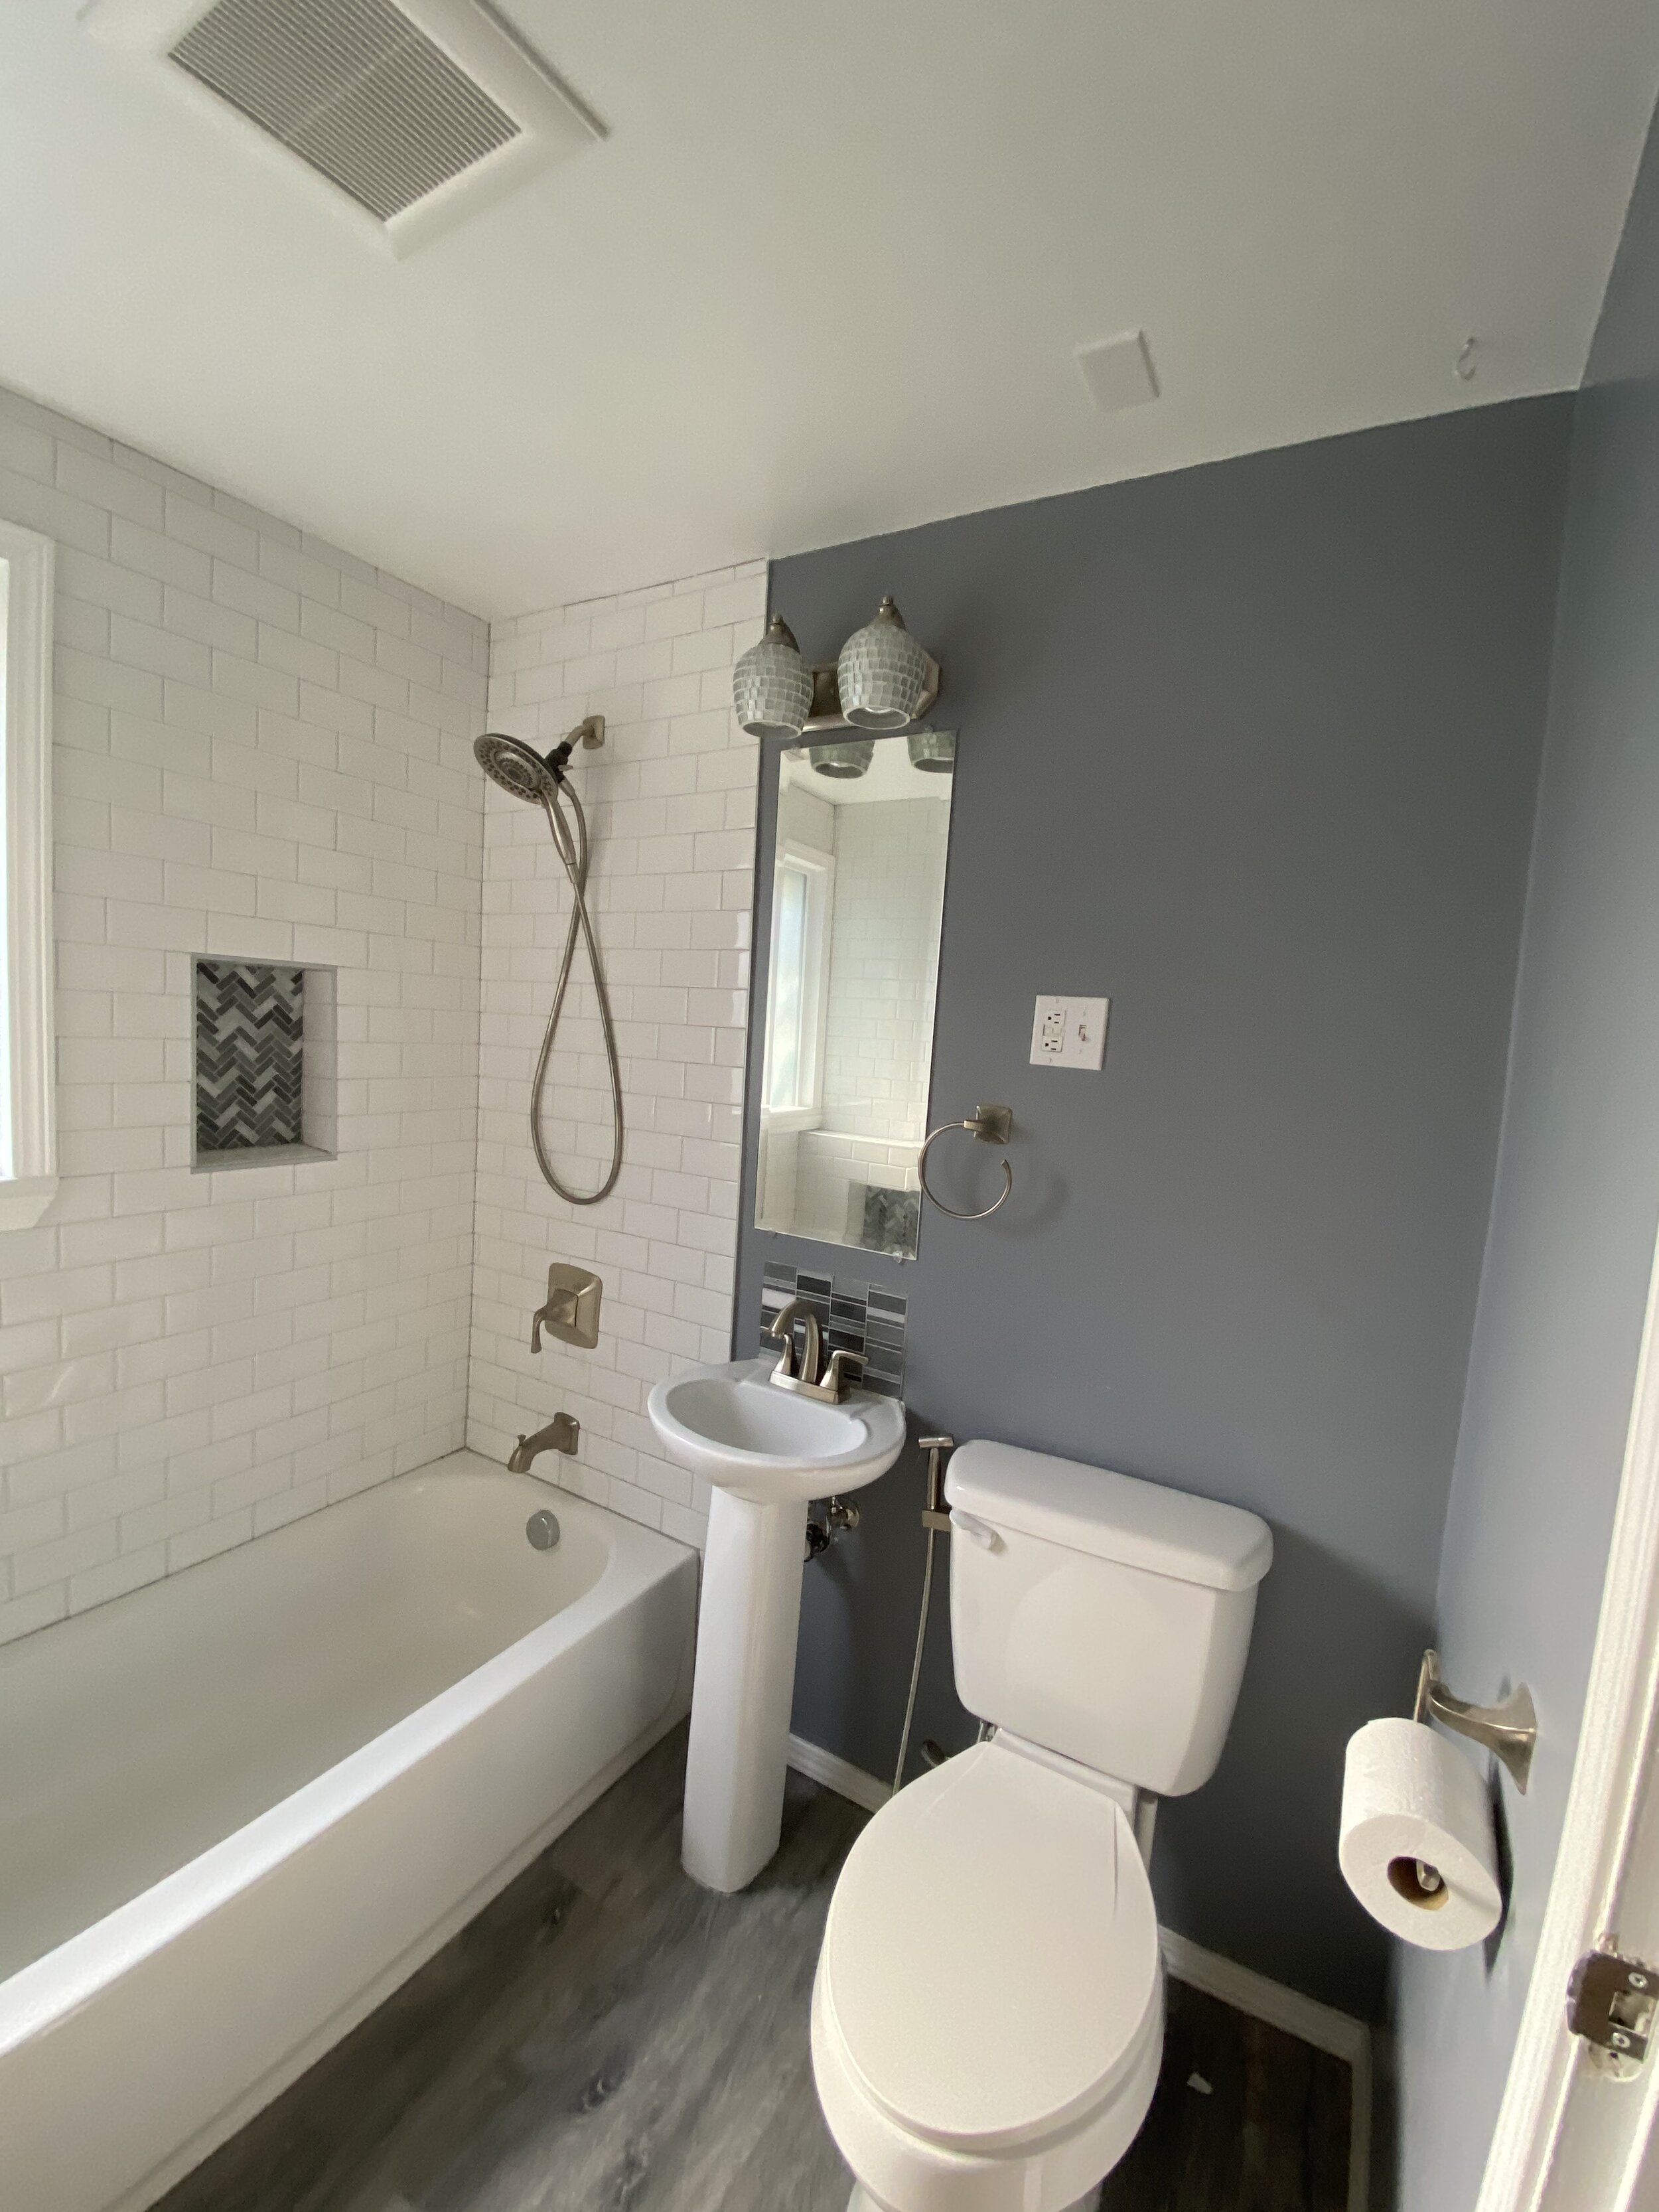
The Before
Unlike the rest of the house, the bathroom was more recently redone. The previous owners had done new tile work and it seemed like the pretty recently repainted in there. This room probably could have been left as it was but we wanted to do this more for fun and to match the rest of the Venetian plaster rooms.
Our Renovation Plan
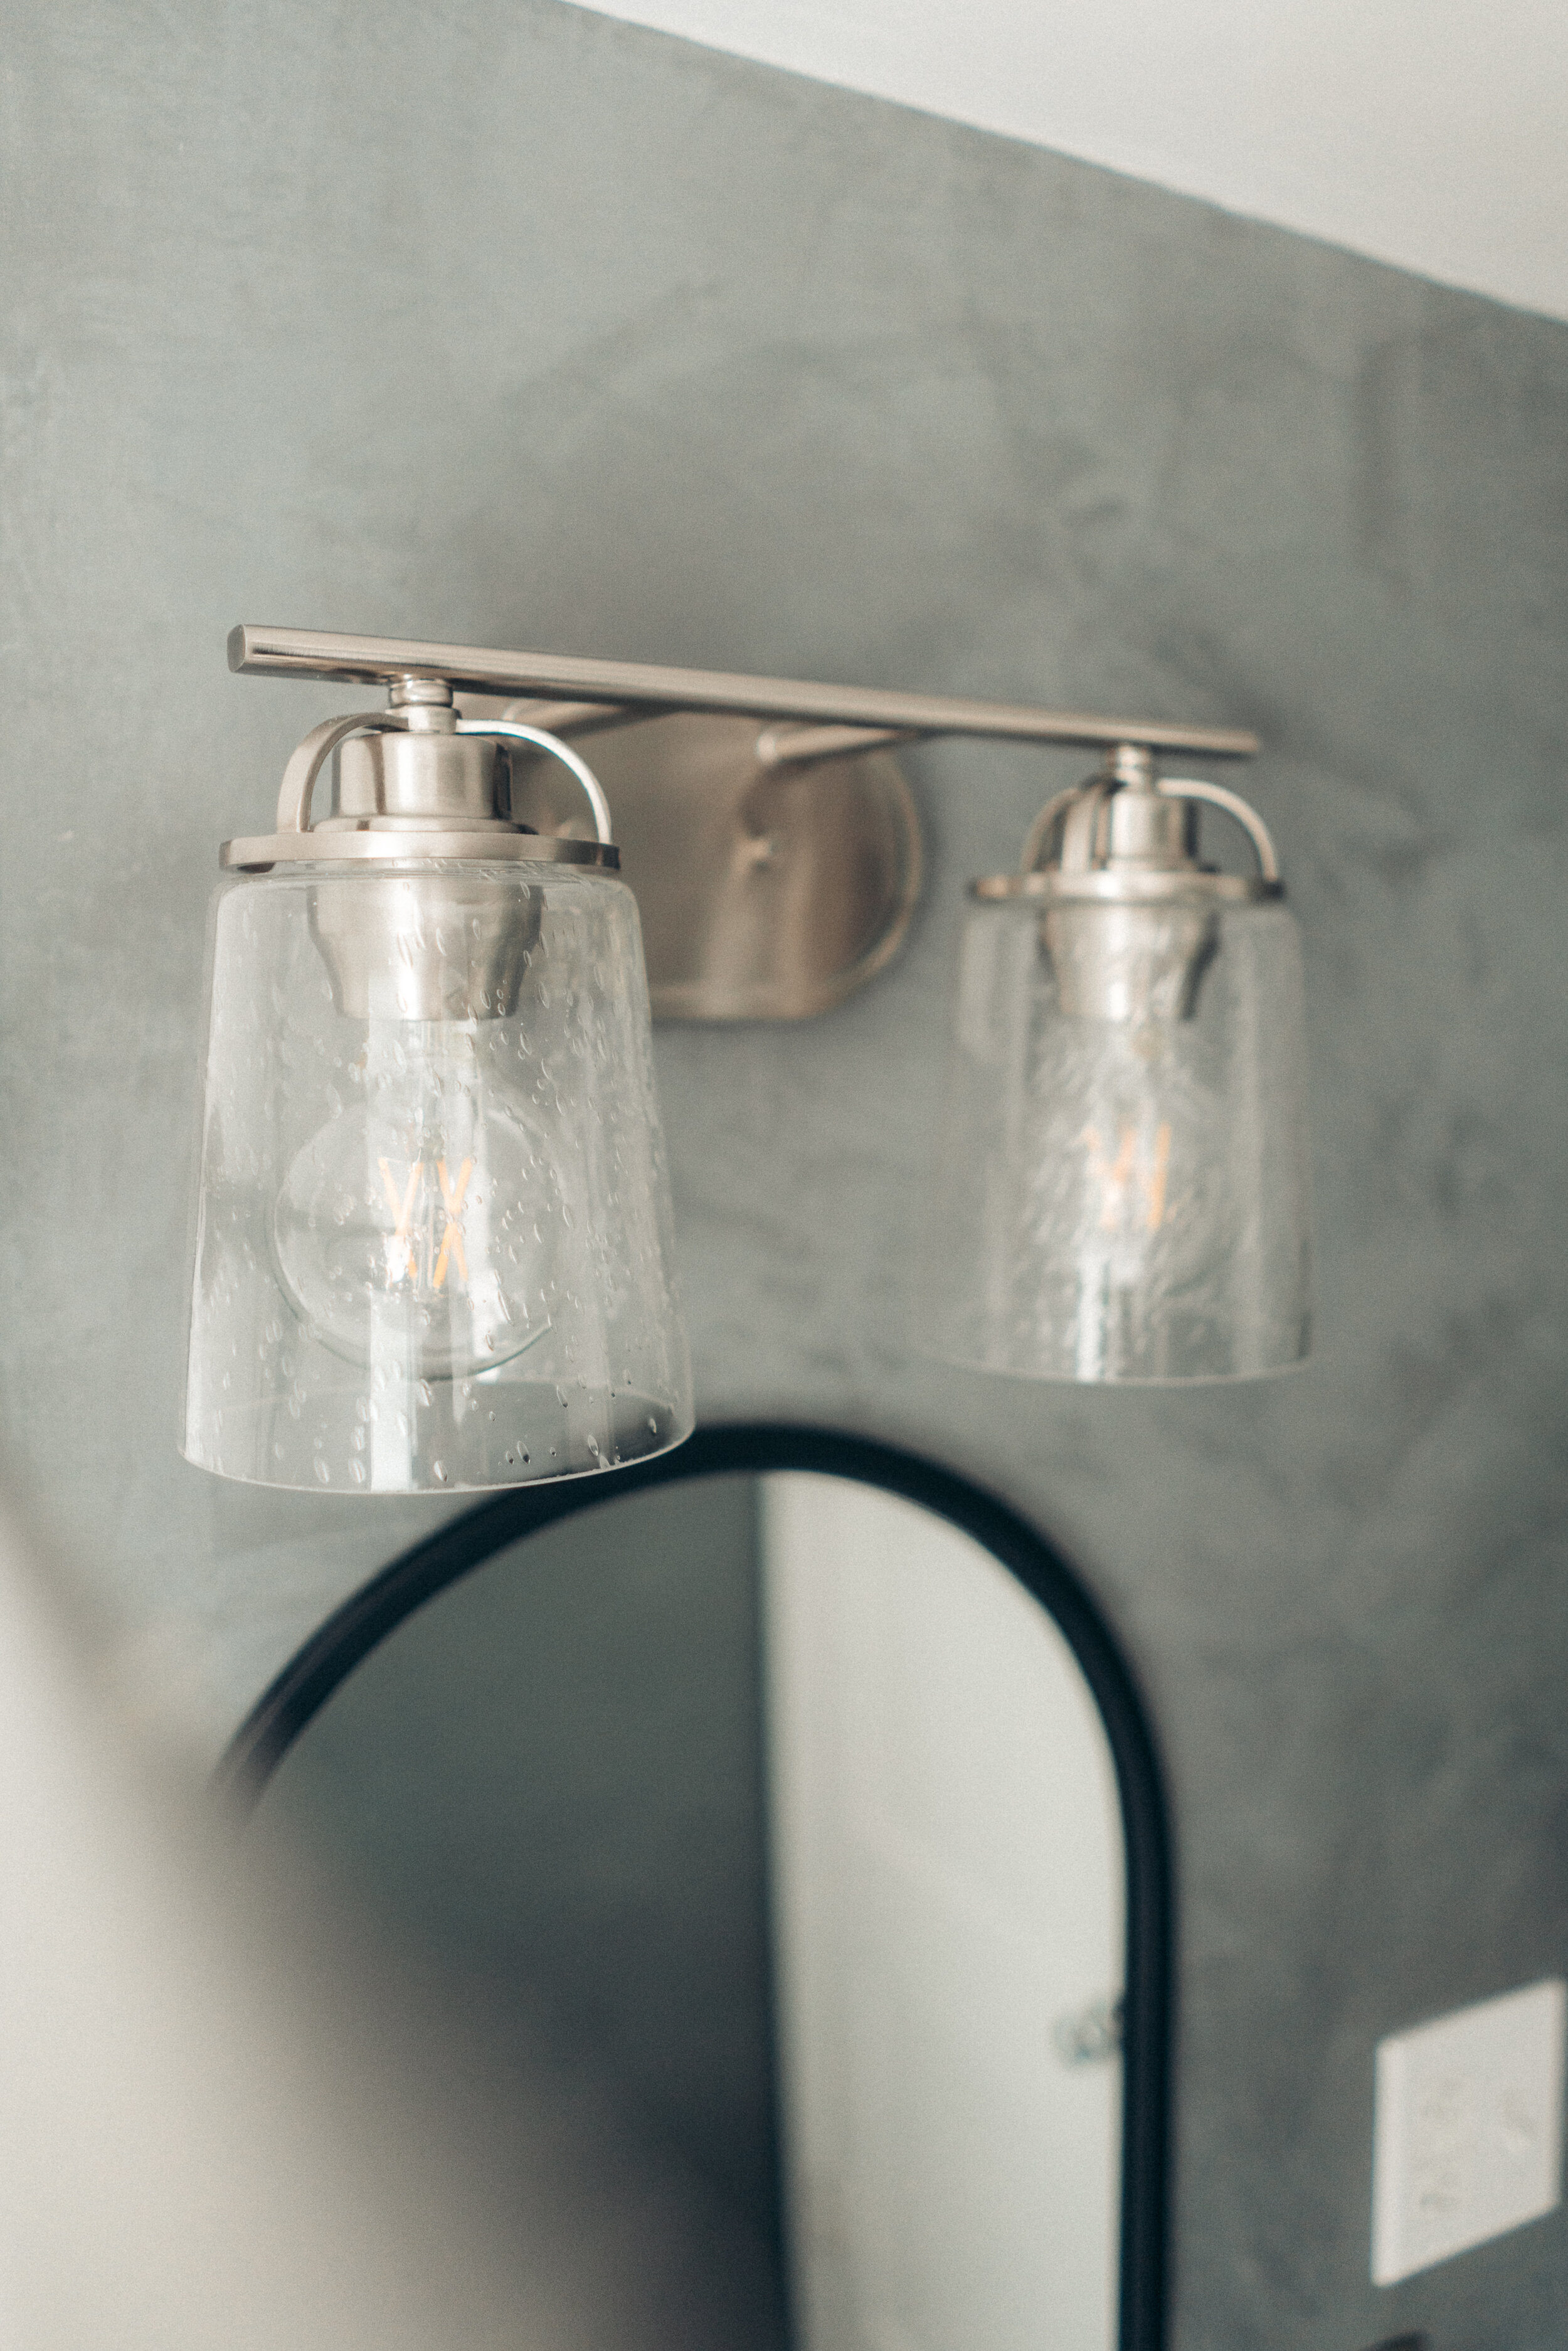
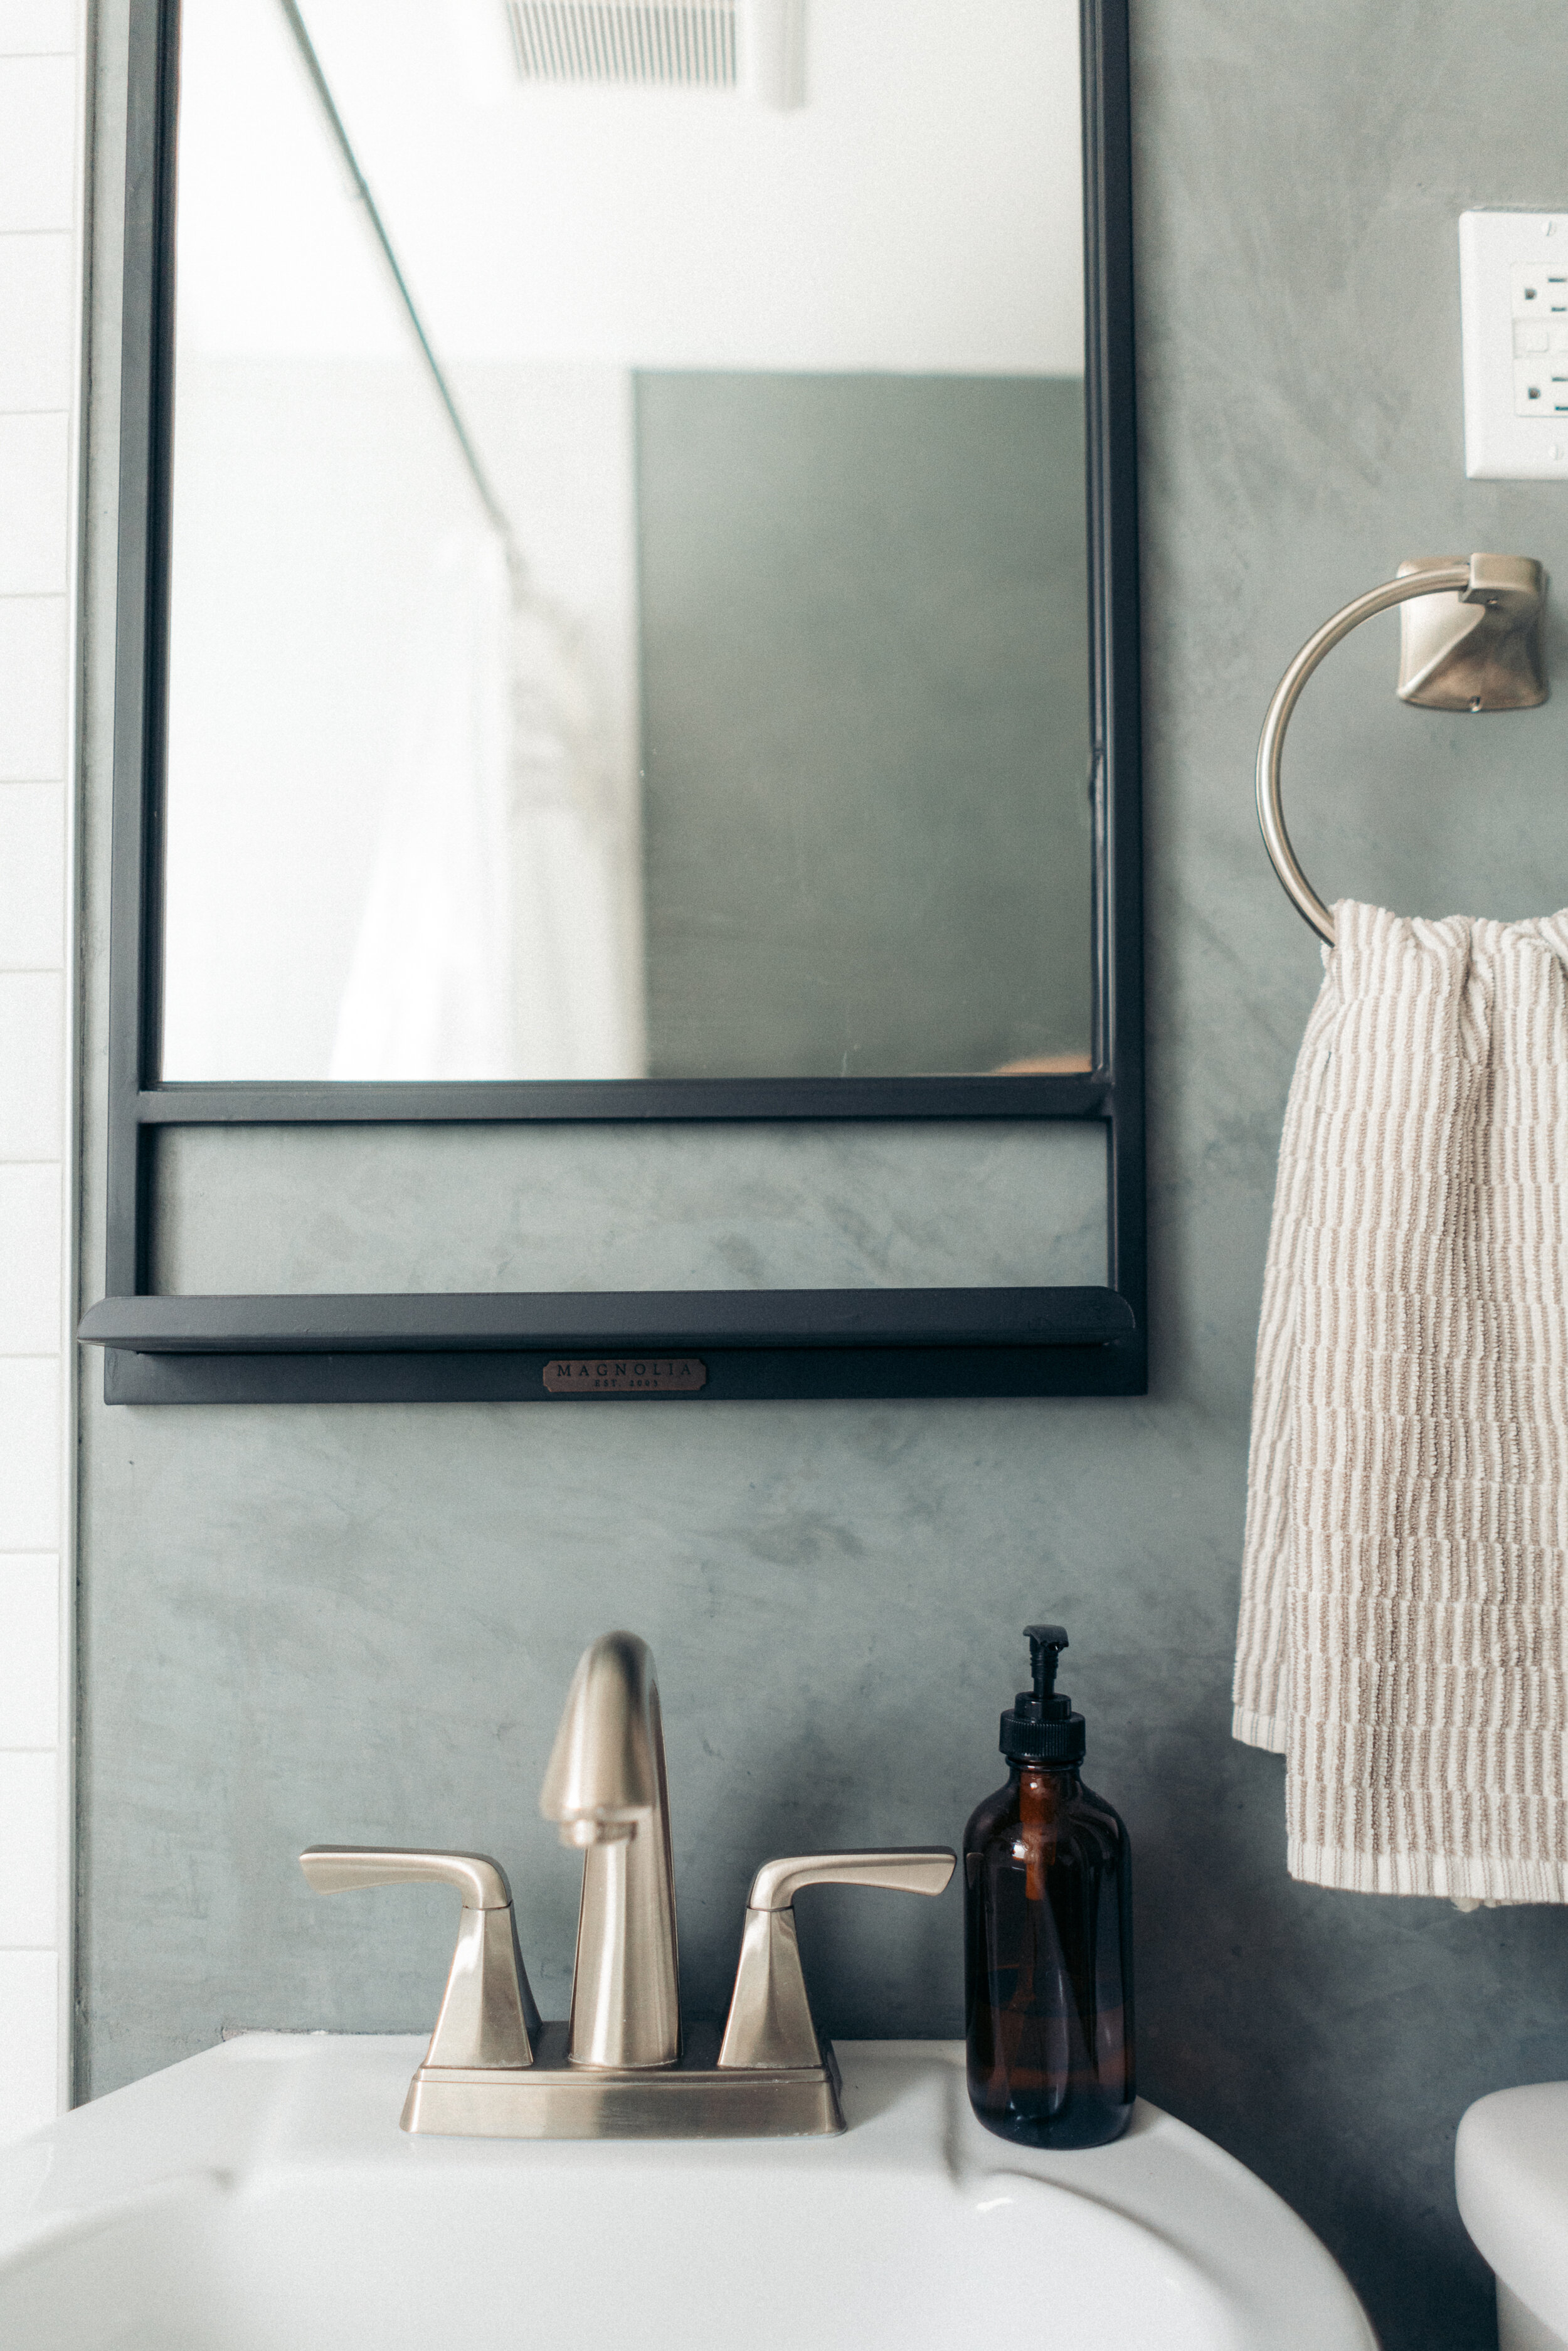
With it being a small bathroom, we figured the project would only take a couple of days. We weren’t going to change too much– just do the Venetian plaster and replace the mirror and light fixture. We wanted to keep it pretty simple, going back and forth on whether or not we wanted to swap all the hardware. We decided against just to save some money, but ultimately I don’t think it really needed it either. We found the cutest mirror from Magnolia. The size we needed was very specific, as it was pretty tall and narrow, but we ended up finding one that fit perfectly and was exactly the style we were hoping for. The light we chose was from Home Depot and originally we ordered a black one before deciding against doing all black hardware. We ended up loving the light but opted to exchange it for a version that matched the existing hardware, which tied in perfectly.
The Process
After doing the first coat of plaster, things seemed a bit off. We had meticulously chosen a shade of grey that wasn’t blue or purple but the first coat honestly didn’t seem grey at all but straight purple instead. We were rather confused since we had spent so much time choosing a shade but figured we had just made a mistake. After comparing the paint chip to the wall though, we could tell something had gone wrong during the tinting process. We reached out to the plaster company we used and discovered that when they reached out to Sherwin Williams, the paint chip we had picked was discontinued and the one Sherwin Williams said was the replacement was so different (the purple shade). We were able to find a chip that was very very close and the plaster company sent us a bucket of tint to add to our plaster.
That actually worked out super well but another hiccup came when our bucket didn’t actually finish the room. So we had to order another small bucket and finally finished the project.
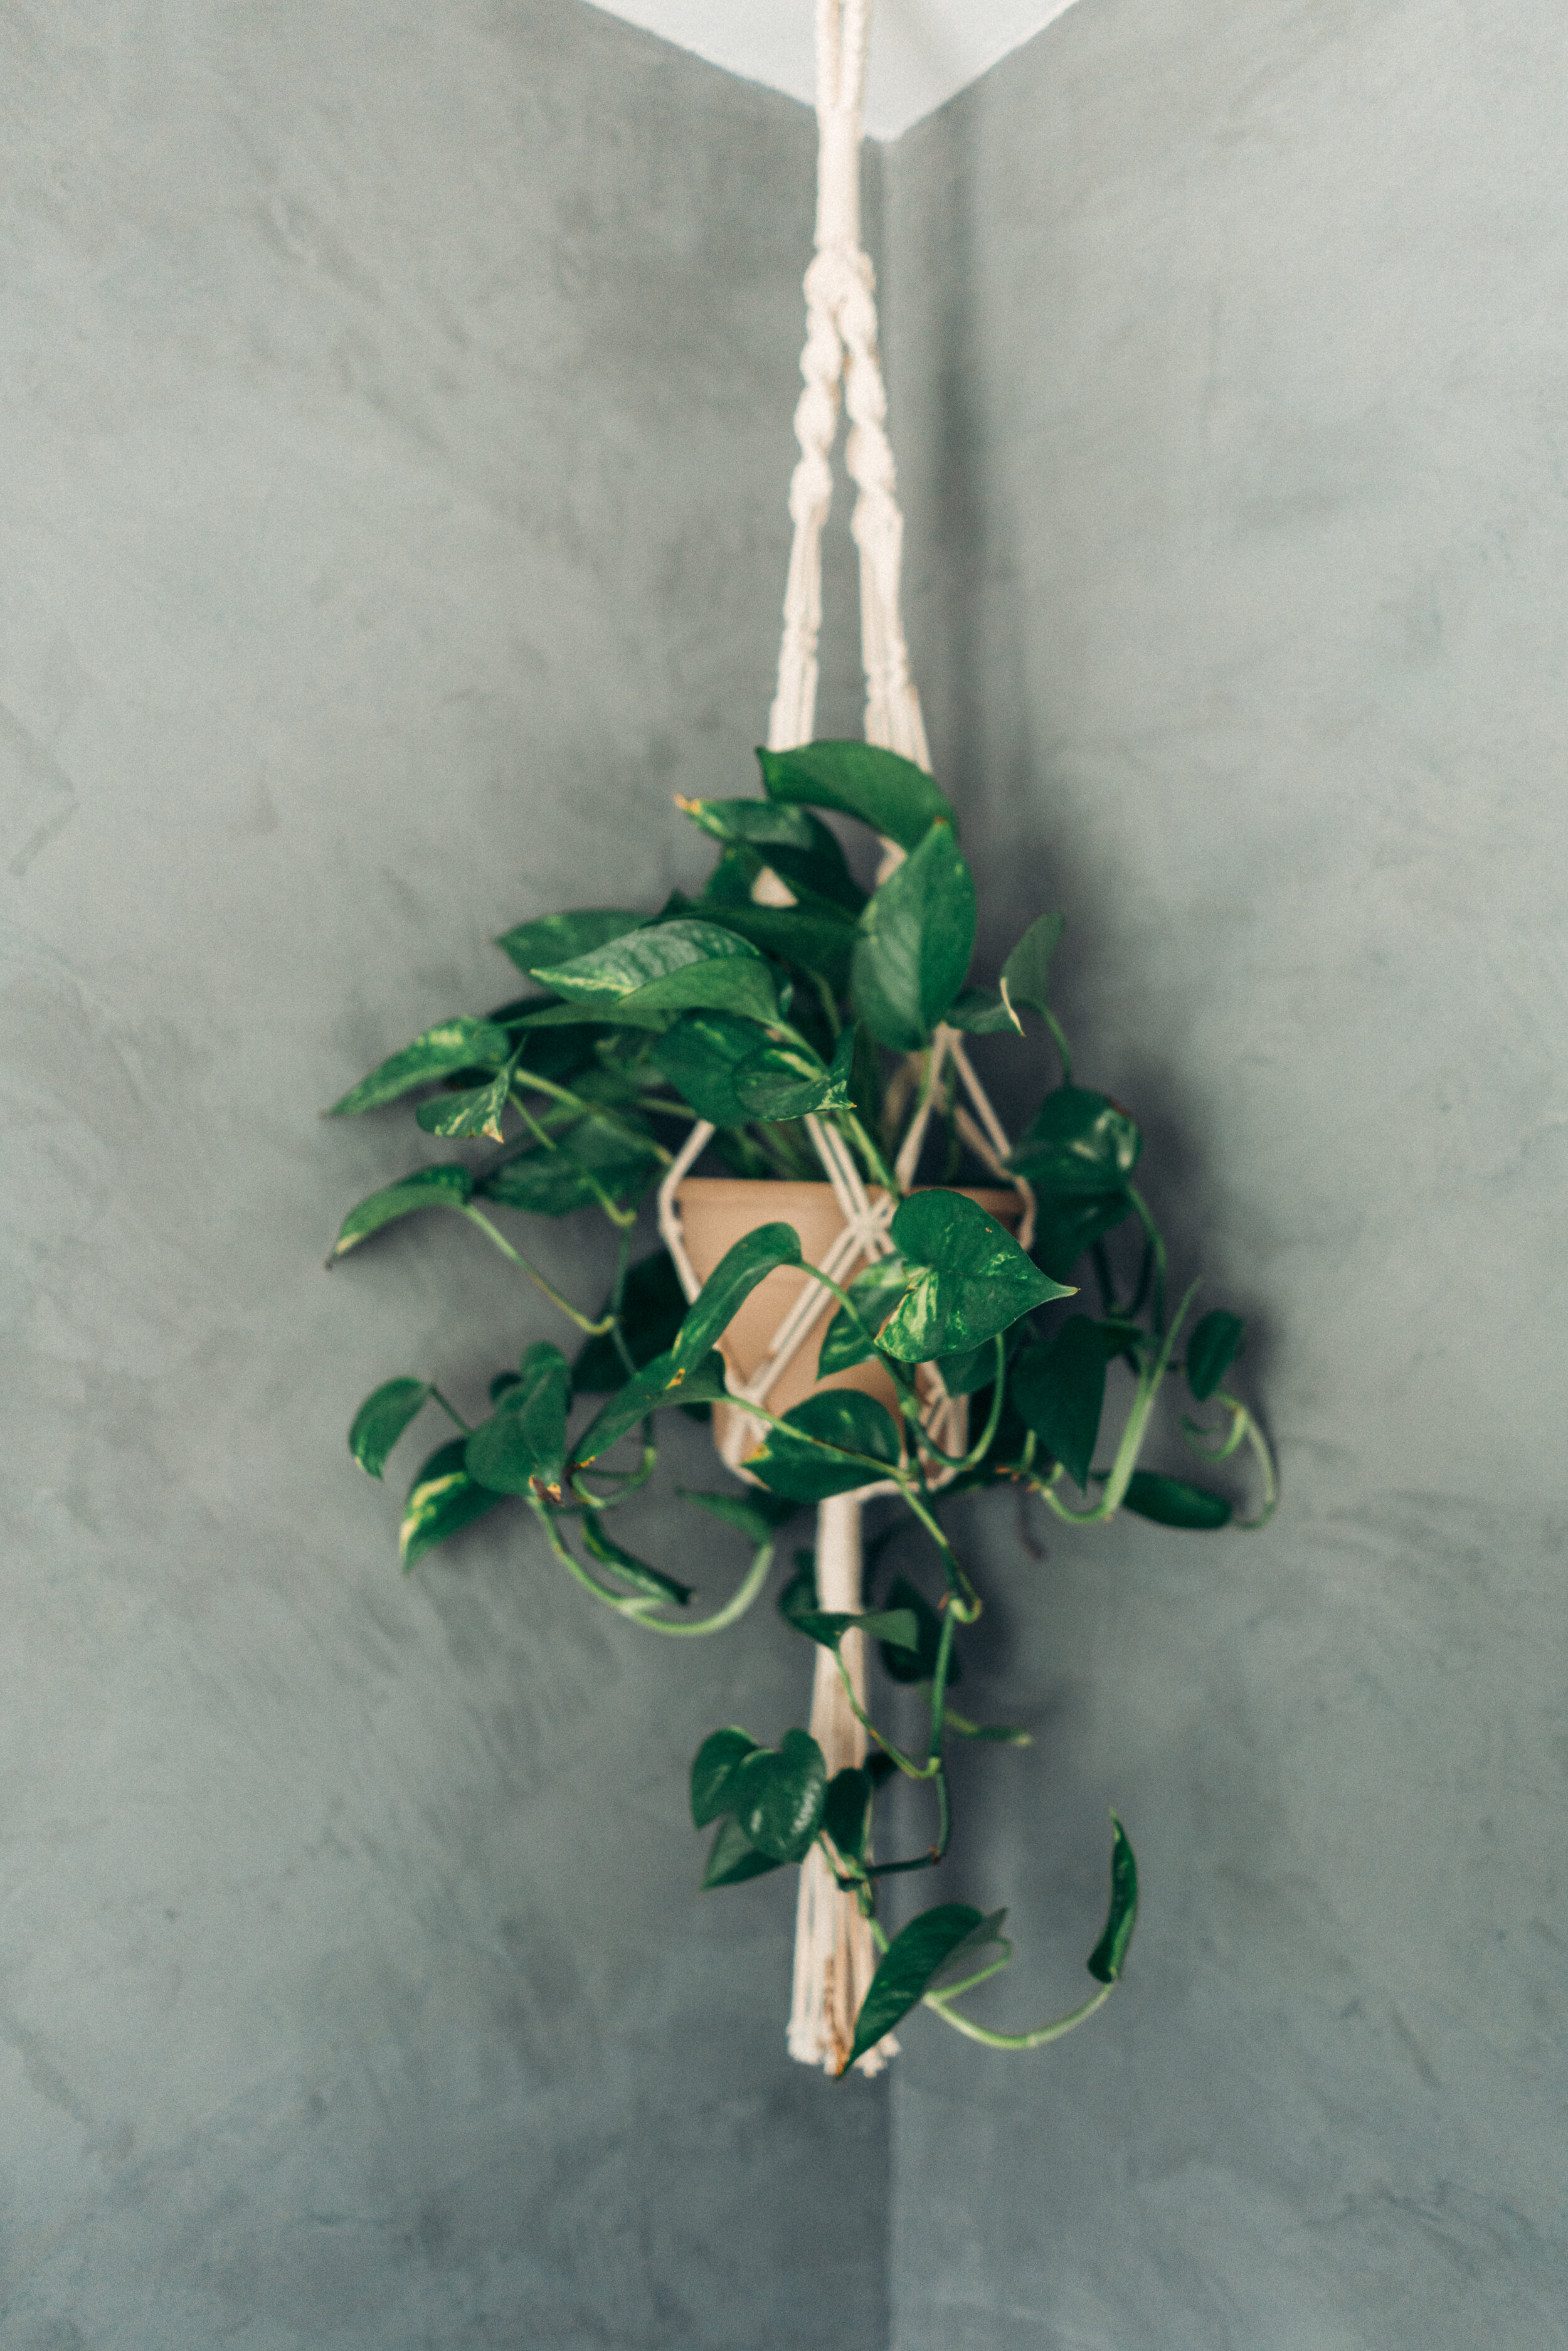
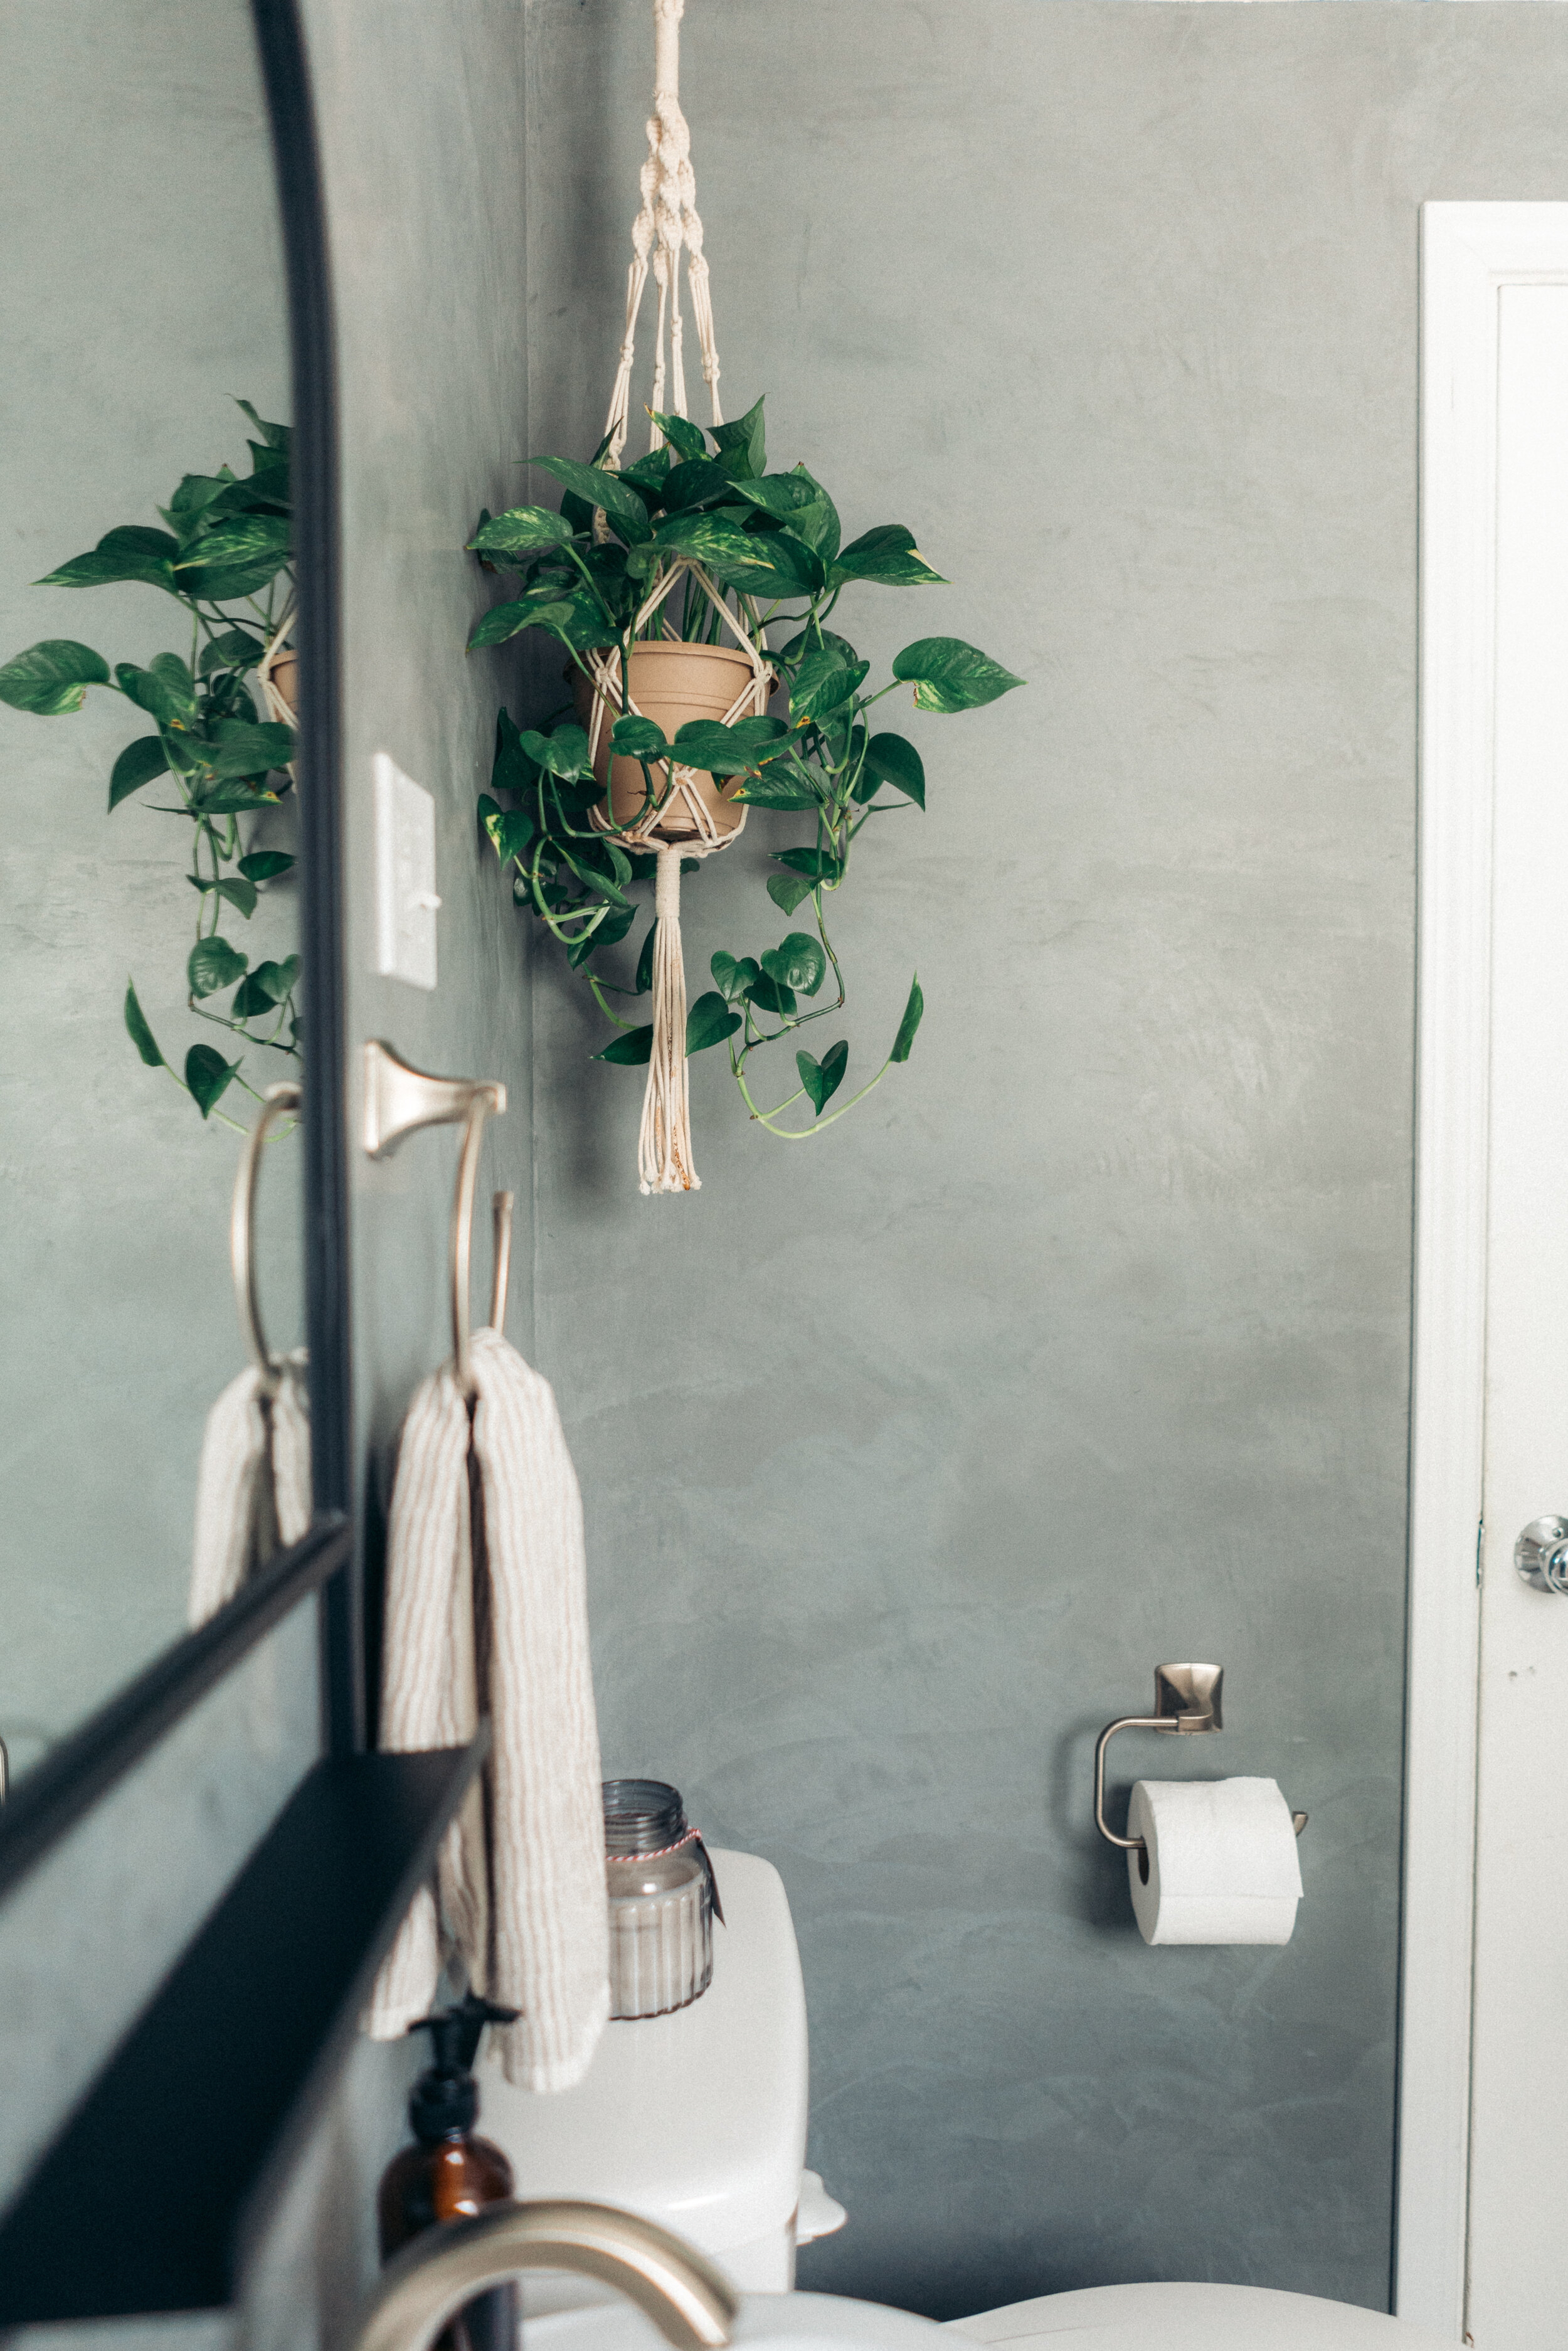
The After & Final Reveal
All in all it took much longer than we thought, but I suppose that’s DIY home projects for you. We are super happy with how it turned out and love the contrast of the dark plaster.


Everything We Used
Plaster: Firenzecolor Marmorino KS
Soapstone Sealer: Firenzecolor Protection Soap
Light Fixture: Inspiration 2-Light Brushed Nickel Bathroom Vanity Light with Glass Shades
Mirror: Meghan Mirror with Folding Shelf

Pin this!


With the sun coming out and Seattle getting warm enough for hanging out on the deck, we’ve been loving to experiment with new cocktails…